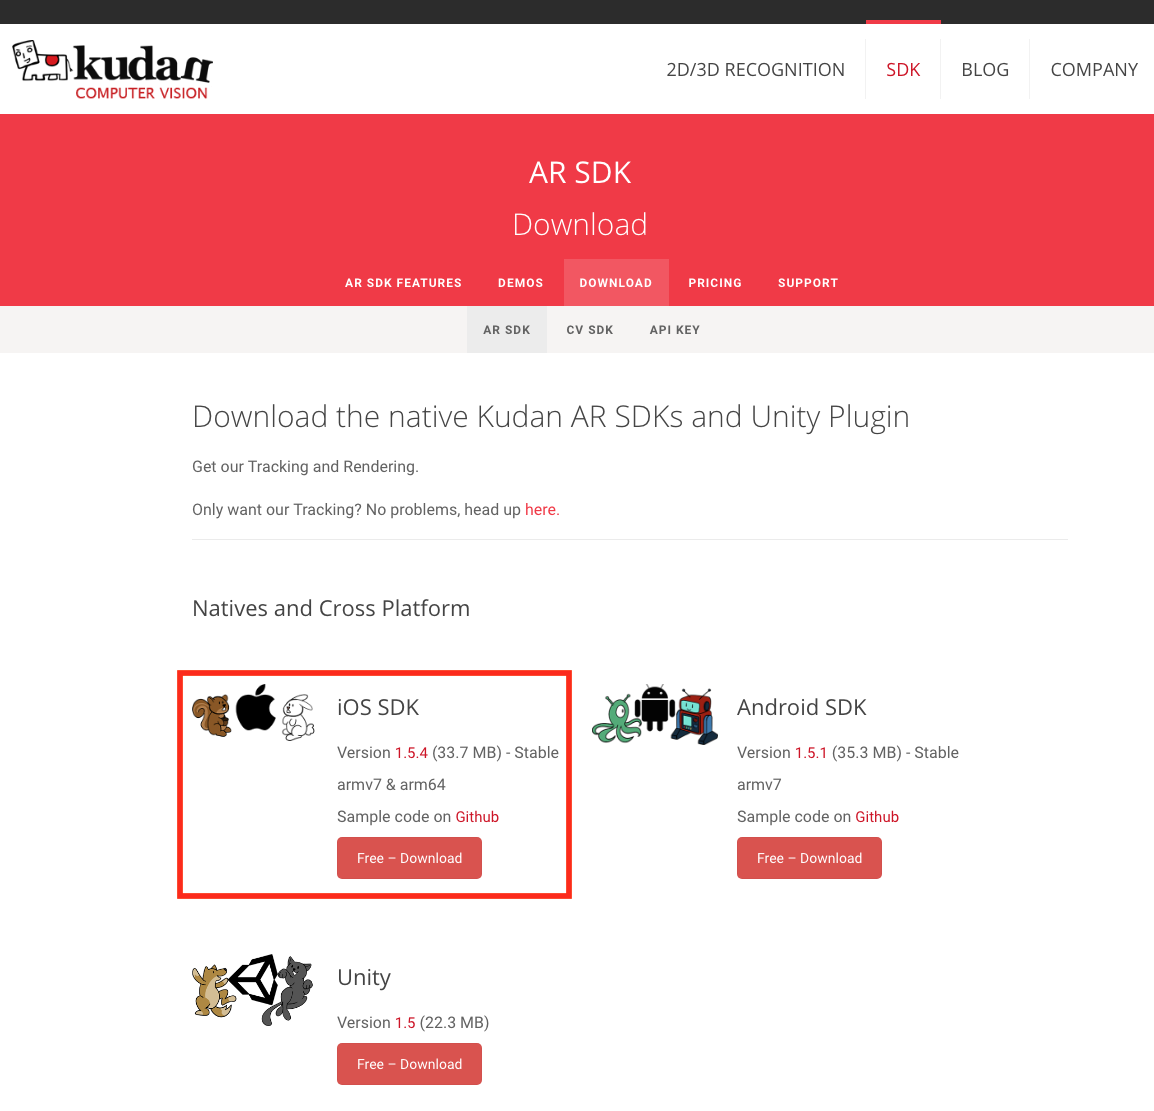
Download Kudan’s AR Framework for iOS
To get started, the first thing you’ll need is Kudan’s AR framework. You can download it on our Download page.
Create a new Xcode project
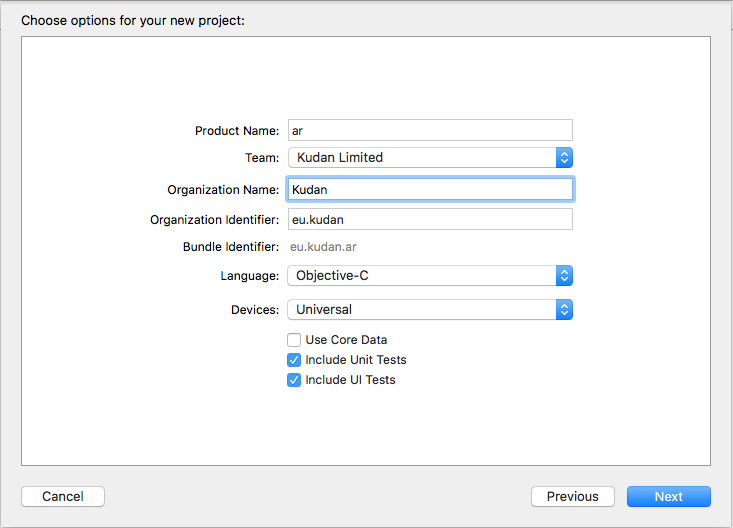
Start up Xcode and create a new Xcode project. If all you want is an AR view, just leave it on the default “Single View Application” and click next.
Amongst other details, you’ll be required to enter a Product Name and Organization Identifier. These two fields together make up your Bundle Identifier. You must make sure that this is the same as the Bundle Identifier associated with your API Key. This will either be the Bundle Identifier you used when generating a free API Key, or, if you are using the Development License Key, simply com.xlsoft.kudanar.
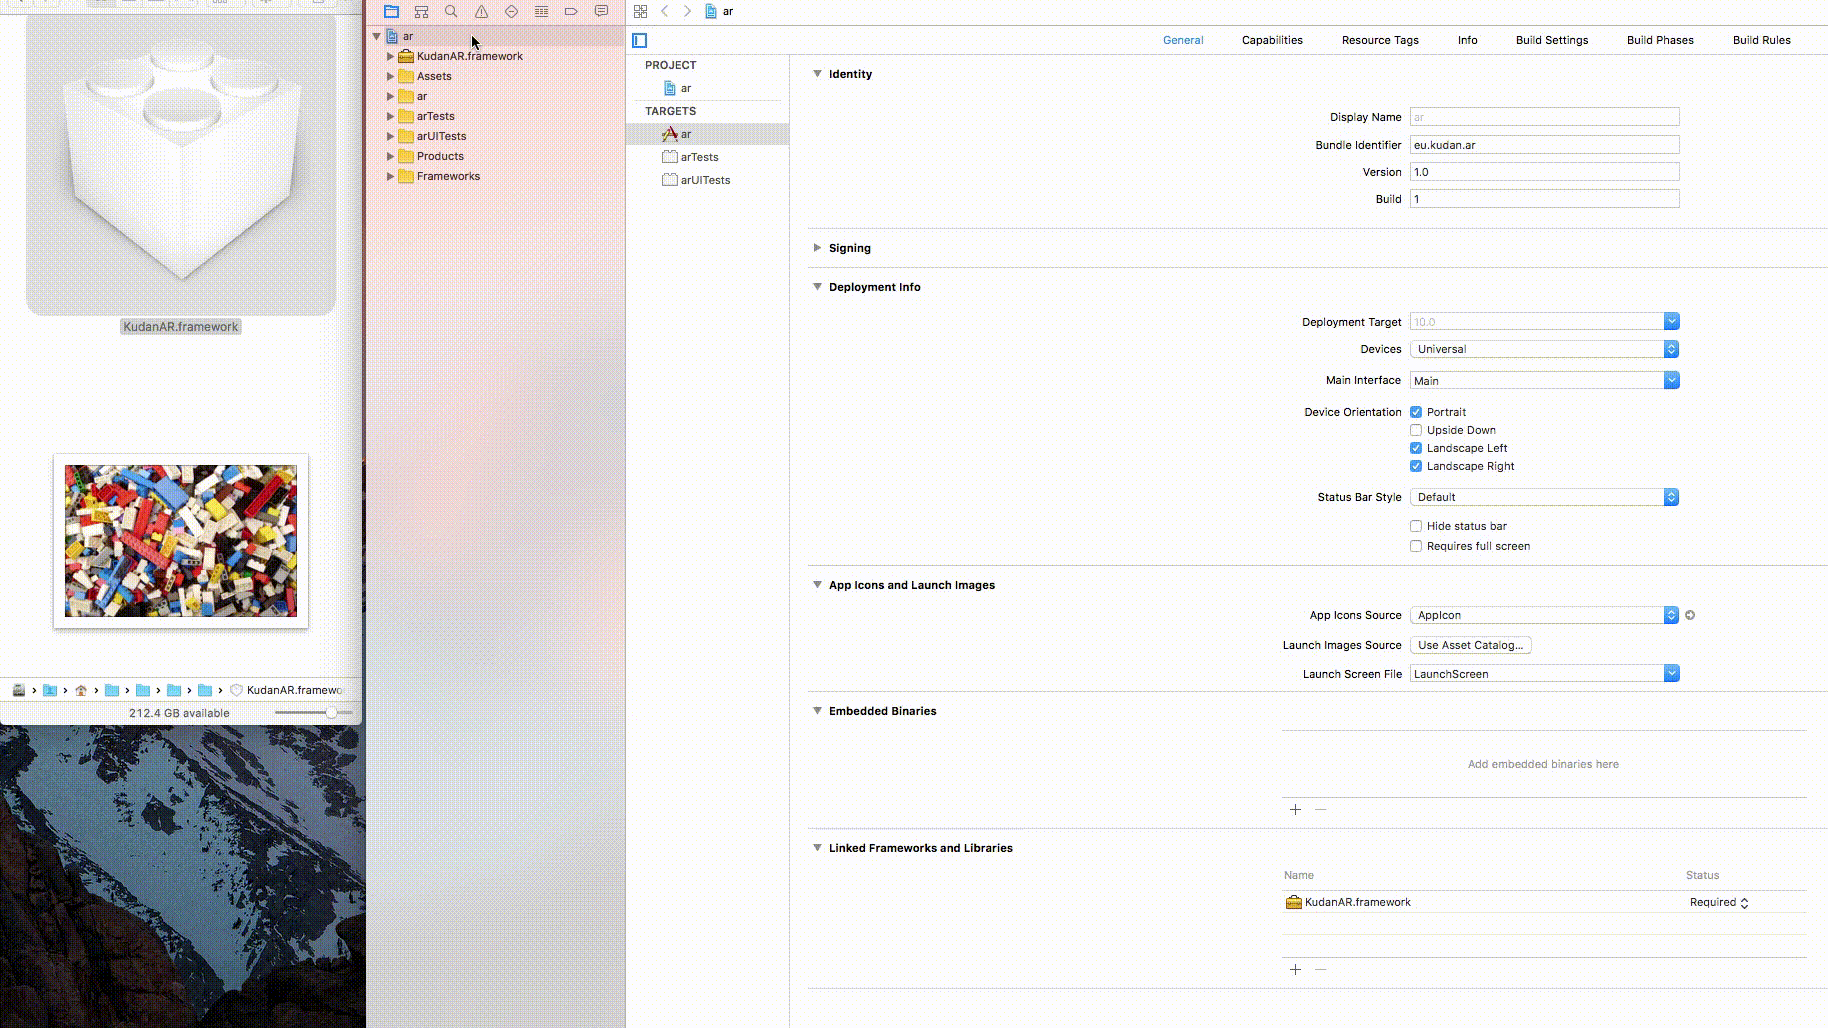
Import Kudan’s AR Framework to the project
Copy or move the KudanAR.framework file into the project folder, then import it into the project, either by dragging and dropping the file from the folder into the project hierarchy, or by clicking File -> Add Files to “<Project>” to add the file.

Import the libc++ standard library to the project
Import the libc++ library to your project by selecting the workspace of your project, scrolling to the bottom of the General tab, clicking the small + icon in the Linked Frameworks and Binaries section, search for “libc++” and add the libc++.tbd file.
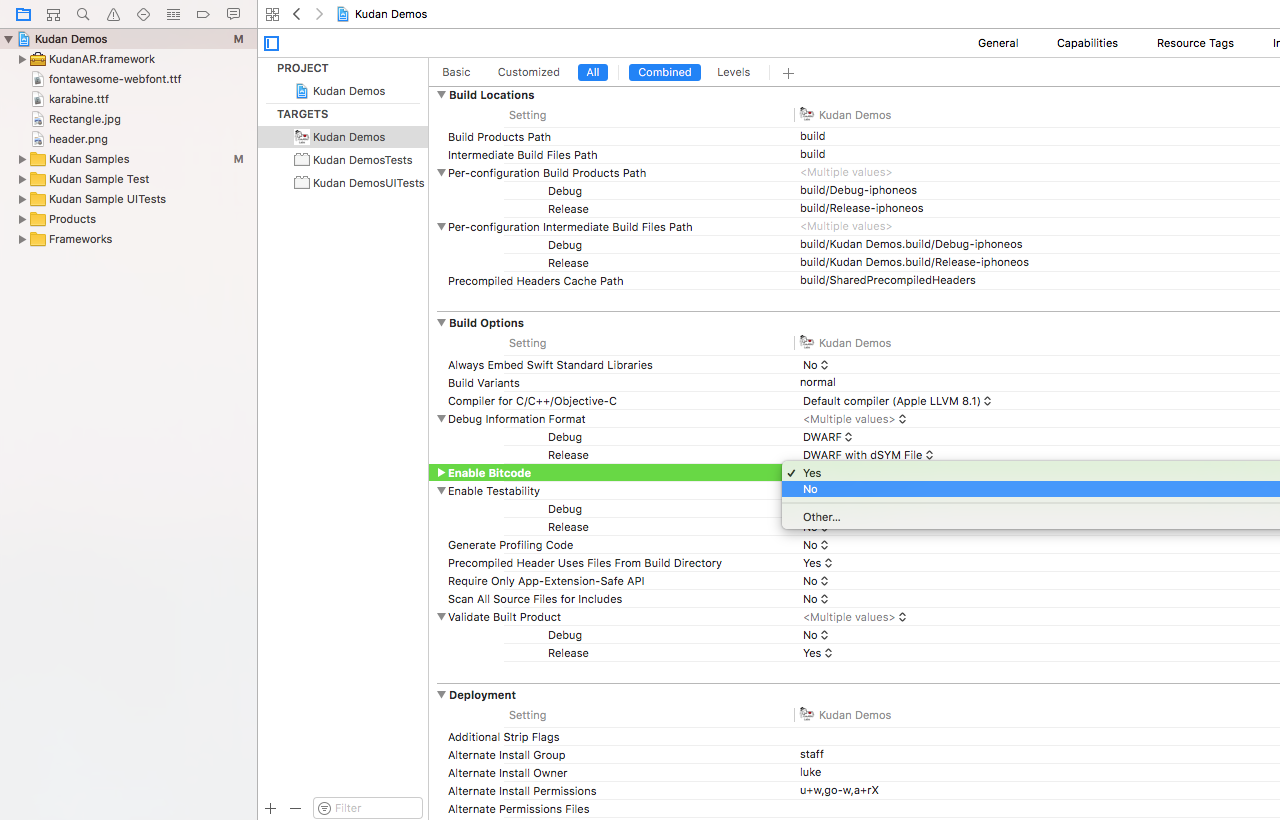
Disable Bitcode
If you attempt to build your project now, it will fail, and you will receive the following error message :
Apple Mach-O Linker (ld) Error
ld: ‘/KudanAR.framework/KudanAR(KudanAR-arm64-master.o)’ does not contain bitcode. You must rebuild it with bitcode enabled (Xcode setting ENABLE_BITCODE), obtain an updated library from the vendor, or disable bitcode for this target. for architecture arm64
clang: error: linker command failed with exit code 1 (use -v to see invocation)
This is because Kudan’s AR framework is a fat binary. To disable Bitcode, go to the Build Settings tab of your workspace, scroll down to Build Options, and set Enable Bitcode to No.
Add to Info.plist
Info.plist key – The app’s Info.plist must contain an NSCameraUsageDescription key with a string value describing how the app uses the data.
“Privacy – Camera Usage Description”
Add Property Declaration
For Objective-C Declaration, add to AppDelegate.h:
[/code]
Import the ARAPIKey class to your App Delegate
Open the AppDelegate in your project and change it to the following:
#import <KudanAR/ARAPIKey.h>
@interface AppDelegate ()
@end
@implementation AppDelegate
– (BOOL)application:(UIApplication *)application didFinishLaunchingWithOptions:(NSDictionary *)launchOptions
{
[[ARAPIKey sharedInstance] setAPIKey:@<Put API Key here>];
return YES;
}
@end[/code]
import KudanAR.ARAPIKey
@UIApplicationMain
class AppDelegate: UIResponder, UIApplicationDelegate {
var window: UIWindow?
func application(_ application: UIApplication, didFinishLaunchingWithOptions launchOptions: [UIApplicationLaunchOptionsKey: Any]?) -> Bool {
ARAPIKey.sharedInstance().setAPIKey("<Put API Key here>")
return true
}
}[/code]
Find the API Key for your corresponding Bundle ID:
- If using your own Bundle ID, this will be the key generated on the website
- If using the
com.xlsoft.kudanardevelopment Bundle ID, you can use the Development License Key. Note that while this key dos not display a Watermark, it cannot be used to upload your app to the app store. To publish your app, you will need to generate a free key on the website (see above), or purchase a license.
Set up your View Controller
Make sure your View Controller is a subclass of ARCameraViewController:
@interface ViewController : ARCameraViewController
@end
}[/code]
import KudanAR
class ViewController: ARCameraViewController {
}[/code]
This will allow you to implement the setupContent method in your View Controller. The setupContent method is called when the ARCameraViewController first loads. For example:
@interface ViewController ()
@end
@implementation ViewController
– (void)setupContent
{
// Setup code goes here
}
@end[/code]
import KudanAR
class ViewController: ARCameraViewController
{
override func setupContent()
{
// Setup code goes here
}
}[/code]
If you changed your View Controller to look like the above, you can build and run your app. You should see a camera stream displaying on your screen, but you can’t detect or track anything just yet. We’ll change that in the next tutorial.